Campervan Water System Guide: Grey & Fresh Water Tanks, Refilling and Dump Station Use [2026]
How campervan water systems work — fresh, grey, and black water tanks, dump station disposal steps, and winter freeze prevention. Includes tips for conserving water.
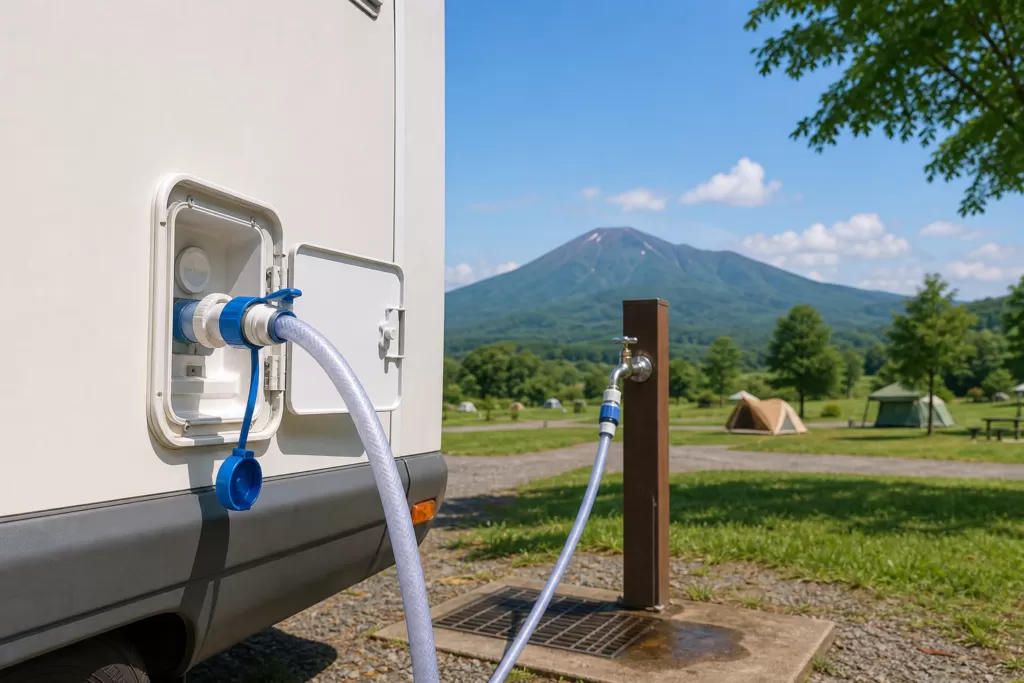
When traveling by campervan, managing your water supply is a key part of staying comfortable. If you use water the same way you would at home, you can empty your tank surprisingly fast or run into trouble handling wastewater. This guide covers how the fresh and grey water systems work, where to refill on the road, tips for making your water last longer, and how to prevent freezing during Hokkaido’s harsh winters.
How a campervan’s water system works (fresh, grey, and black tanks)
A campervan’s water system is generally made up of three types of tanks. Understanding what each one does will help you avoid trouble on the road.
Fresh water tank
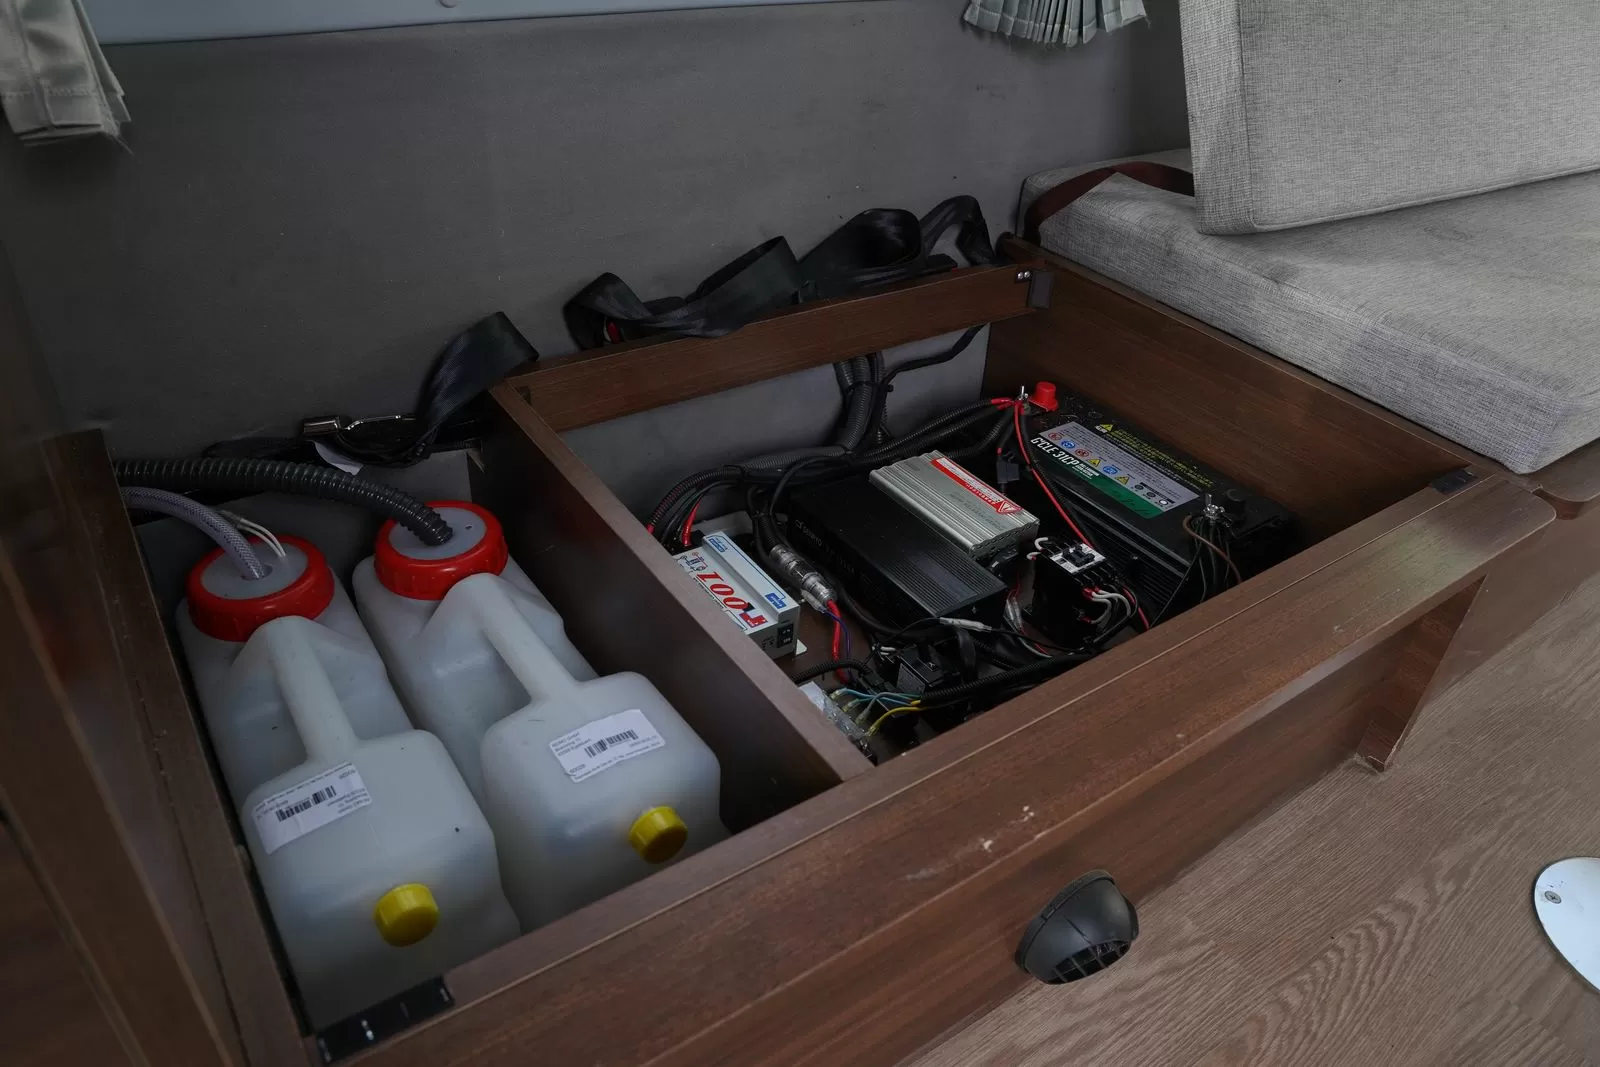
This tank holds clean water for drinking, cooking, dishwashing, and showers. Capacity varies by vehicle, but a typical cabcon or vancon carries 50–120L, while larger full-conversion campervans may carry 200L or more.
A rough guide is 10–15L per person per day. For two people on a 3-night, 4-day trip, that works out to roughly 60–90L. The exact amount depends heavily on whether you shower daily and how often you wash dishes.
The tank is usually mounted under the chassis or in a rear storage compartment, with the fill inlet on the side of the vehicle. Water will overflow once the tank is full, so keep an eye on the amount while refilling.
Grey water tank
This tank collects household wastewater from the sink and shower (dishwashing water and shower runoff), also called “grey water.” Its capacity is usually close to that of the fresh water tank, or somewhat smaller.
As the fresh water tank empties, the grey tank fills up proportionally, so by the time your fresh water runs out, the grey tank is often nearly full too. You empty it at a dump station, typically found at RV parks.
Black tank
This tank holds wastewater (sewage) from a flush toilet. It works differently from the cassette toilets common in Japanese campervans. A cassette toilet uses a removable tank that you pull out to empty, while a black tank is fixed in place and is emptied by connecting a hose at a dump station.
Black tanks are common on North American and European campervans, and some domestic cabcon models are equipped with them too. Because odor can be an issue, it’s recommended to add a dedicated treatment chemical on a regular basis.
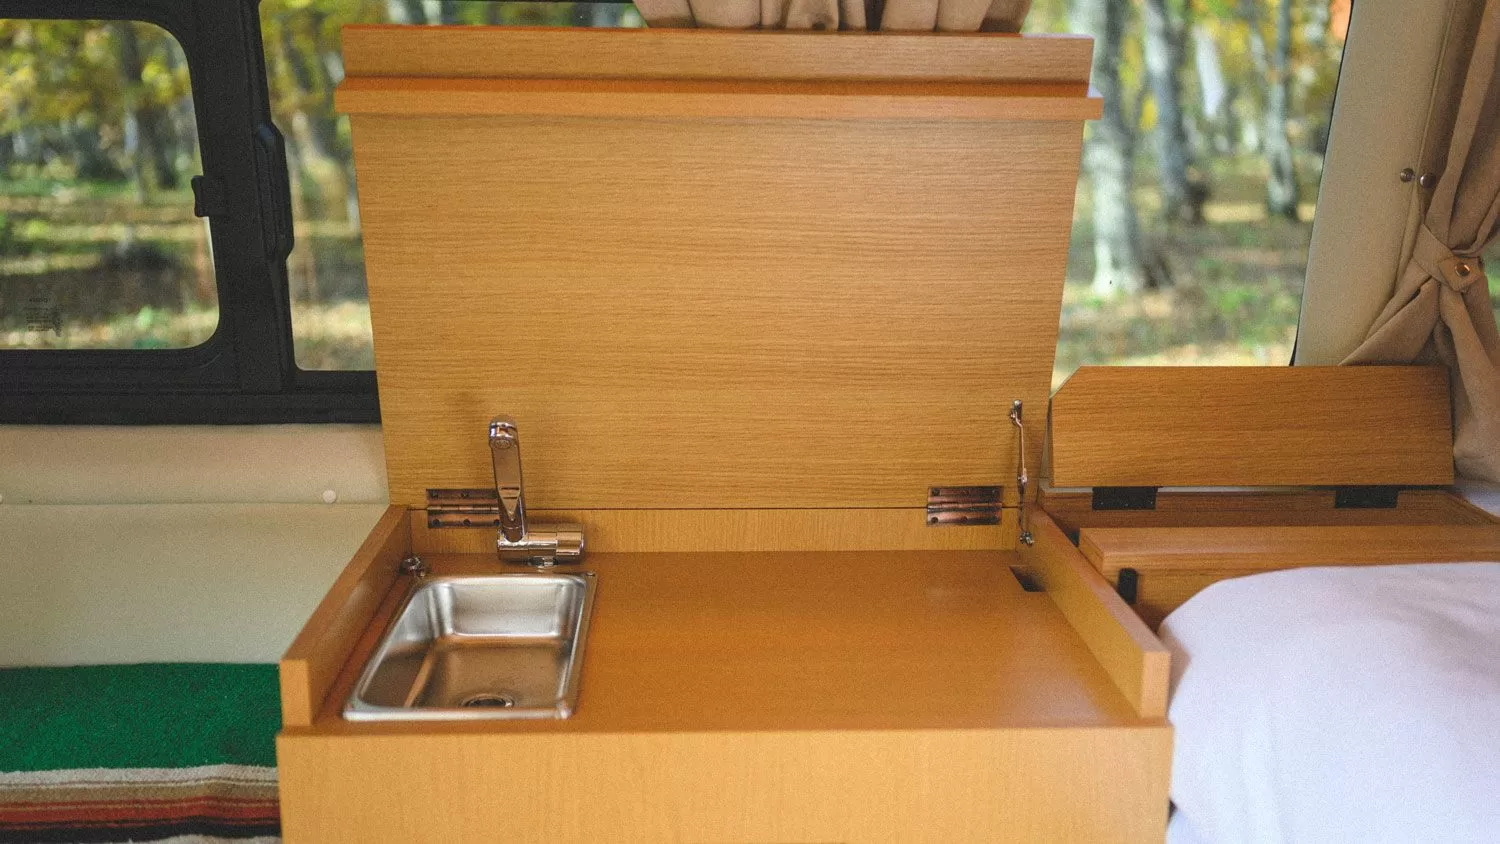
Where to refill your fresh water tank (RV parks, campsites, roadside stations)
Knowing where you can refill your fresh water tank ahead of time means you can keep traveling without worrying about running dry. Here are the main refill spots, organized by type of location.
RV parks
RV parks certified by the Japan RV Association (JRVA) come with power, water supply, and drainage facilities. For a usage fee of around ¥2,000–¥4,000 per night, water refilling is included in almost all cases. These parks are scattered throughout Hokkaido, and you can search for ones near your location on the Japan RV Association’s website.
Some facilities also have a dump station, letting you refill and empty your tanks at the same time. It’s a good idea to book the day before to be safe.
Campsites
At campsites with a faucet at the cooking area, you may be able to refill your fresh water tank with on-site water. Many places let you do this for free, but it’s good manners to check with the site manager first.
Hokkaido campsites are busiest from June to September, and you can sometimes stop by for an early check-in or a day-use visit just to refill water. That said, some campsites restrict campervan access, so check in advance.
Roadside stations (michi-no-eki) and service areas
Some Michi-no-Eki roadside rest stops have water and drainage facilities set up as an “RV station.” A growing number of Hokkaido’s Michi-no-Eki are being developed as RV stations, and you can check availability through the “Michi-no-Eki Guidebook” or dedicated apps.
Highway service areas rarely have water facilities set up specifically for campervans, though some drivers fill a 20L jerry can from a regular restroom tap and pour it in themselves. This may count as using the facility for an unintended purpose, so follow the facility’s posted guidance.
Auto parts stores and gas stations
Some Costco gas stations and certain gas stations support refilling water for campervans. At Costco, some locations have a refill spot for members. It’s worth checking each location’s details in advance before heading there.
Compare Hokkaido campervan rentals
Base yourself at New Chitose Airport and compare rates, vehicle types, and pickup locations all in one place.
Compare rental companies and prices →How to empty the grey tank: steps and etiquette
Household wastewater collected in the grey tank can only be discharged in designated locations. Dumping it on the road or into nature is against the law, so always use a dump station.
What is a dump station?
A dump station is a dedicated facility for emptying a campervan’s grey and black tanks. You connect a hose to a drain outlet set into the ground to discharge the waste. Dump stations are found at RV parks, campsites, and some Michi-no-Eki.
Use typically costs anywhere from free to around ¥500. Pricing varies by facility, so check when you book or when you arrive.
Steps for emptying your tanks
- Check the location of the dump station’s drain outlet and park your vehicle in the right spot
- Know the location and operation of your campervan’s drain valve ahead of time
- Securely connect the drain hose (supplied with the campervan or sold separately) to the drain outlet
- Slowly open the drain valve and let the wastewater flow out
- Once draining is finished, close the valve and remove the hose
- Rinse the hose with water after use and store it hygienically
If your campervan has a black tank, draining it before the grey tank is more hygienic, since you can use the grey tank’s water at the end to rinse out the hose.
Etiquette and the law
Even grey water is prohibited from being discharged into rivers, the sea, lakes, or onto roads under the Water Pollution Prevention Act and various local ordinances. Thinking “it’s just a small amount, so it’s fine” is a mistake, and it damages the reputation of campervan users as a whole. Never drain water anywhere other than a dump station.
It’s also good etiquette to keep the area around the dump station’s drain outlet clean. Rinse around the hose area with water after use so the next person can use it comfortably.
Water-saving techniques: dishwashing and shower use
Traveling with a limited fresh water tank capacity requires everyday water-saving habits. A small shift in mindset can make a big difference in how long your water lasts.
Saving water while washing dishes
The amount of water used for dishwashing can vary hugely, from 0.5L to 5L per session, depending on your approach. Combining the following methods can cut down your usage.
- Wipe first, then wash: Wiping off grease and food residue with a paper towel before washing significantly reduces the amount of detergent and water you need
- Use the two-basin method: Using one basin with soapy water and another for rinsing saves far more water than leaving the tap running. A collapsible washing basin is handy for this
- Use some disposable dishware: For breakfast or light meals, lining plates with paper plates or food-safe wrap can also cut down on washing up
- Use a small-format camping detergent: Low-suds detergents made for dishwashing need less rinsing
Saving water in the shower
A campervan’s built-in shower is designed to use less water than a shower at home. Even so, 3–5 minutes under the water uses 10–15L.
- Try a “navy shower”: Wet yourself down → turn off the water → apply soap → rinse quickly and thoroughly. This cycle can bring usage down to 2–3L per shower
- Combine with hot springs or coin showers: Hokkaido has plenty of hot springs, and using a day-use bathing facility means zero shower water used while staying clean. Bathing facilities across the region typically cost ¥400–¥1,000
- Switch to a water-saving showerhead: Some generic water-saving showerheads can cut flow by 30–50%. Check your onboard shower’s hose diameter and choose a compatible one
Bring drinking water separately
Fresh tank water is safe to drink, but some travelers prefer to bring drinking water separately in bottles or a water jug for a dispenser. Reserving the fresh tank for washing and showers makes hygiene management easier.
New Chitose Airport / Tokachi-Obihiro Airport
Rent the Cabcon “Cresson Journey”
Base yourself at New Chitose Airport and travel all across Hokkaido by campervan.
See details at Moving Inn →Winter freeze prevention and how to use antifreeze
During Hokkaido’s harshest winter months (January–March), lows can drop below -15°C to -25°C in some areas. If you use a campervan during this period, protecting your water supply and drain lines from freezing is essential. If they freeze, pipes and tanks can crack, and repairs can run into the tens of thousands of yen or more.
Spots prone to freezing
- The pipe connecting the fresh water tank and pump (running along the underside of the vehicle)
- The drain trap under the sink (water tends to sit in the S-bend)
- Around the external water fill inlet
- The grey tank’s drain valve
How to use antifreeze (propylene glycol)
The antifreeze widely used for campervans and RVs is “propylene glycol-based antifreeze.” Unlike ethylene glycol-based automotive antifreeze, it’s made from an ingredient close to food grade, and is considered relatively safe even if some residue is accidentally left in the pipes. That said, it isn’t meant to be consumed as a drink.
Here’s an example of the general procedure.
- Empty the fresh water tank (use up as much water as possible, or drain it through the drain valve)
- Pour antifreeze into the fresh water tank (at the dilution ratio specified by the product’s instructions)
- Open each faucet and the shower in turn and run them until antifreeze comes out, so it reaches the whole pipe network
- Add the specified amount to the toilet as well, if your vehicle has a black tank
- After the season ends, flush thoroughly with fresh water to clear out the antifreeze
The amount and dilution ratio of antifreeze varies by product. Always check the label of the product you’re using. For use in Hokkaido, choosing a product rated for -25°C to -30°C is a safe bet.
Precautions for short stops and overnight parking
If you’re staying just one or two nights and don’t want to go as far as using antifreeze, the following methods can lower the risk of freezing.
- Keep the cabin warm overnight: Leaving the FF heater running at low output while you sleep raises the interior temperature and helps prevent the pipes from freezing
- Leave the cabinet under the sink open: Opening the storage cabinet under the sink lets warm air from the heater reach the piping more easily
- Drain the pressure from the pipes after use: After turning off the water pump, you can also open a faucet slightly to release the pressure remaining in the pipes
- Use heated hoses or heat trace tape: There are products that wrap heat trace tape around the external water inlet and exposed sections of piping to prevent freezing. These are available at campervan supply stores and online retailers
Using a campervan in Hokkaido during winter can be a comfortable experience if you have the right gear and freeze-prevention measures in place. It’s a good idea to check with the vehicle’s manufacturer or dealer in advance about exactly how low a temperature your vehicle is rated for.
Maintaining and sanitizing the water system
Maintaining your water system isn’t just important during your trip — doing it before and after helps keep things comfortable in the long run. In particular, neglecting to prepare your tanks before long-term storage can let scale and bacteria build up inside the tanks and pipes, causing bad odors and poor water quality the next season.
Cleaning the fresh water tank
Before the off-season or long-term storage, always empty and dry out the fresh water tank. Leaving water sitting in the tank lets algae and bacteria grow in summer, and can lead to tank damage from freezing in winter.
To clean it, start by adding a baking-soda solution to the fresh water tank (about 2–3 tablespoons of baking soda per 10L of water), then run it through each faucet with the pump to rinse the tank and the entire pipe network. Commercial campervan tank-cleaning products achieve a similar effect. After cleaning, run fresh water through a few more times to flush out any residue.
Dealing with grey tank odor
The grey tank tends to accumulate oil and food residue from dishwashing, and odor becomes more likely when temperatures are high. The following measures can help keep smells down.
- Run baking soda through before draining: Pouring about a tablespoon of baking soda into the sink and flushing with hot water breaks down fat inside the tank and helps suppress odor
- Add tank treatment regularly: Adding an RV tank treatment product (an eco-friendly type) to the tank on a regular basis helps keep bacterial growth in check
- Check the vent pipe: The grey tank is connected to a vent pipe open to the atmosphere. If it gets clogged, pressure can build up and cause backflow or unusual noises. Check the vent regularly
Pump maintenance
Fresh water pumps are usually electric, and running one dry with an empty tank can cause it to fail. Before turning on the pump, always confirm the tank actually has water in it. If the pump sounds unusually loud, or its output drops dramatically, a clogged filter or internal wear may be to blame. It’s a good idea to have it checked before the season starts.
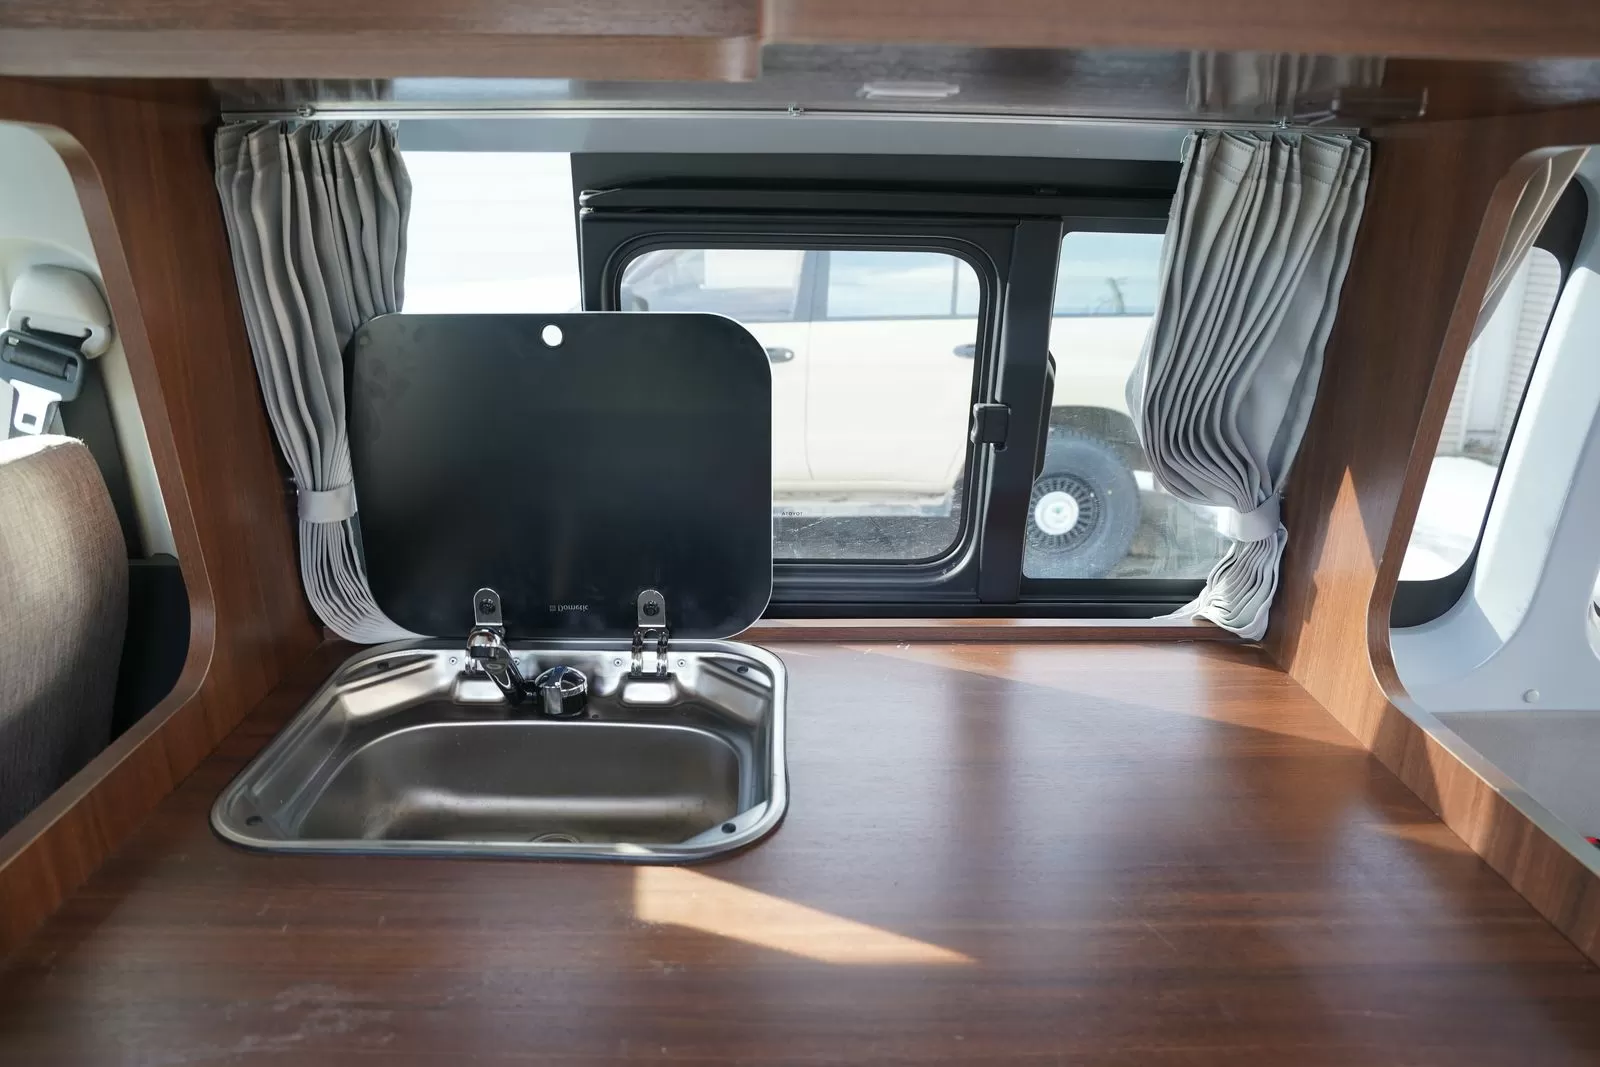
Frequently Asked Questions (FAQ)
Q: Can I drink the water from the fresh water tank?
It’s safe to drink as long as the tank has been kept clean, but a tank that’s been left unused for a long time can develop bacterial growth inside. It’s a good idea to rinse the tank out with water before your trip and refill it with clean water. If you plan to drink from it, keep up with regular maintenance using a tank-cleaning product as well.
Q: Can I drain wastewater in a roadside station (michi-no-eki) parking lot?
Draining wastewater in a typical Michi-no-Eki parking lot is prohibited. Only drain water using the designated equipment at Michi-no-Eki that have been set up with water and drainage facilities as an “RV station.” Assuming “it’s fine because it’s a Michi-no-Eki” is a mistake. Check whether facilities are available in advance via the Michi-no-Eki’s website or apps such as “overnight parking maps.”
Q: If I rent a campervan, will I be shown how to operate the water system?
Most rental companies explain the location of the water fill inlet, how to refill it, and the steps for draining the grey tank during the pre-departure briefing. Asking about anything unclear on the spot can prevent trouble during your trip. Operating instructions are also often included in the onboard manual, so you can check it again while traveling.
Q: What should I do if the grey tank gets full?
As the grey tank nears full, wastewater can back up into the sink or stop draining altogether. Before that happens, empty it at a nearby RV park or dump station. Planning your route around RV parks where you’ll be staying, and setting a plan to drain every one or two nights, is a safe approach.
Q: What should I be especially careful about with water supply and drainage when using a campervan in Hokkaido in winter?
The biggest concern is frozen pipes. On days when temperatures drop below -10°C, you’ll need to keep the interior heated overnight, or fill the pipes with antifreeze (propylene glycol-based). Also, since fewer RV parks and campsites operate during the depths of winter, check in advance where you’ll be able to refill and drain water before setting out. Winter travel in Hokkaido calls for especially deliberate water management.
Q: What’s the difference between a cassette toilet and a black-tank toilet?
A cassette toilet has a small, pull-out tank (the cassette) under the seat; once it’s full, you remove the cassette and empty it into a public restroom’s slop sink or a designated disposal facility. A black-tank toilet, on the other hand, stores wastewater in a fixed tank and empties it via a hose at a dump station. Cassette toilets are more common in campervan rentals in Japan and are simple to handle. Black-tank systems are more common in large imported campervans and full-conversion models.
Book a Campervan in Hokkaido
Moving Inn New Chitose Airport supports English booking and offers airport transfers.

![When and Where Can You See Harbor Seals at Cape Erimo? Kaze no Yakata Official Information, Viewing Season, and Windy-Day Notes [2026-27]](https://hokkaido-campingcar.jp/wp-content/uploads/2026/10/erimo-cape-lighthouse-768x511.jpg.webp)
![Where and Under What Conditions Can You See Diamond Dust in Hokkaido? How Cold a Morning It Takes, and Where It Appears [2026-27]](https://hokkaido-campingcar.jp/wp-content/uploads/2026/10/hokkaido-diamond-dust-nayoro-768x512.jpg.webp)
![Can You Drive to Hokkaido Jingu for Hatsumode? Parking, Crowds, and Where to Park and Walk [2027]](https://hokkaido-campingcar.jp/wp-content/uploads/2026/10/hokkaido-jingu-winter-torii-768x504.jpg.webp)
![Hokkaido Roads Over New Year [2026-27] | Expressway Sections Prone to Blizzard Closures, Forecast Congestion Days, No Holiday Discount, and New Chitose Airport Parking](https://hokkaido-campingcar.jp/wp-content/uploads/2026/10/hokkaido-winter-rural-road-edge-markers-768x432.jpg.webp)
![Where to See Sea Smoke (Kearashi) in Hokkaido: Rumoi’s Ogon-misaki and the Morning Conditions [2026-27]](https://hokkaido-campingcar.jp/wp-content/uploads/2026/10/rumoi-kearashi-sea-smoke-768x511.jpg.webp)
![Geminid Meteor Shower 2026 in Hokkaido: Peak Around 23:00 on December 14, Sapporo Moonset 20:40, and Staying Warm in a Winter Campervan [2026]](https://hokkaido-campingcar.jp/wp-content/uploads/2026/10/geminids-2026-hokkaido-768x575.jpg.webp)